A simple example of inviting a read only User
In this example we are going to show you how to invite a user with the email "john.doe@example.com" to your Opticks Account and assign it viewing permissions during the process.
-
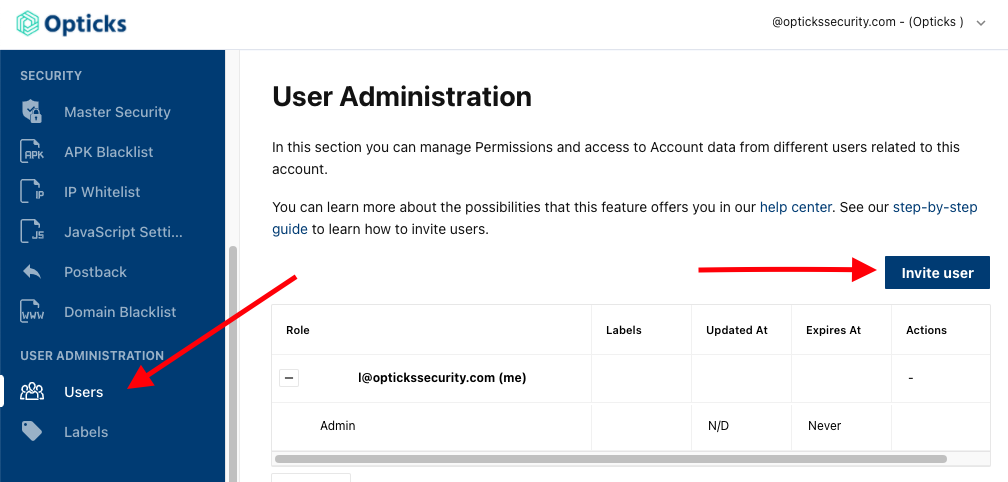
Go to User Administration section and click Invite User
-
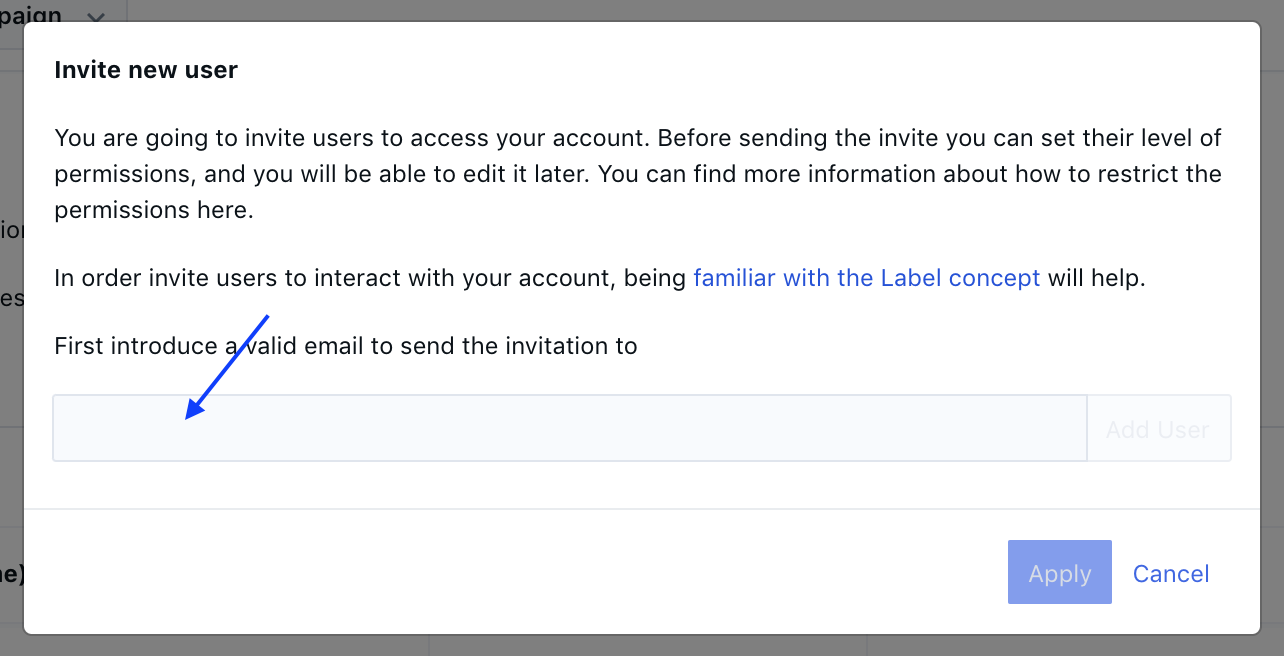
Introduce the user email in the popup
-
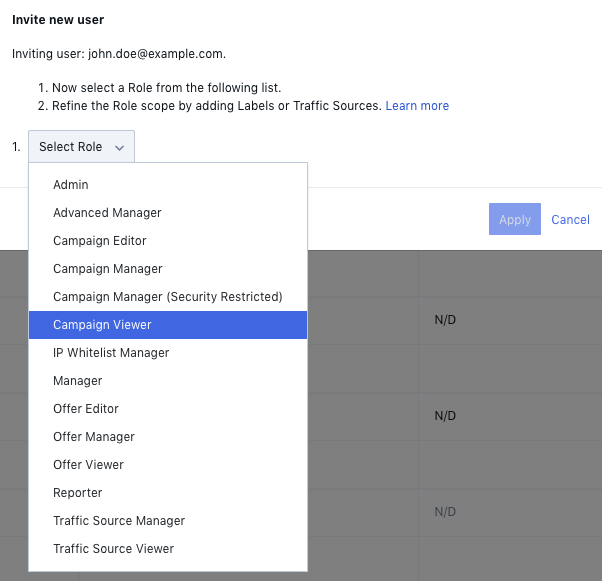
Select the role you want to assign to the user. This will define the set of permissions available to them.
-
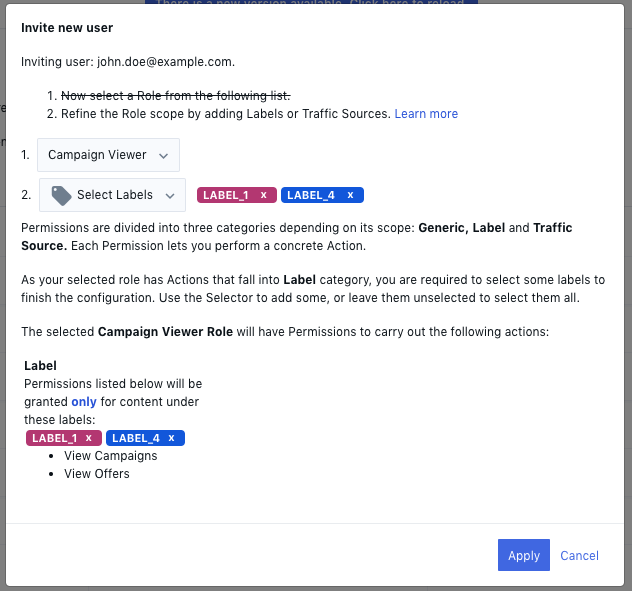
Refine the permission level by assigning labels. You can leave all labels unselected to provide access to all the data. Learn more about Labels. In the bottom of this section you will find a list of the actions that the user can perform given your Role selection.
Feel free to use the Roles selector to explore the possibilities. You can also find a summary table here with all the options.
-
Click apply to send the invitation.
After completing this process, the user will receive and email notifying them about the invitation and next steps to accept it.